RAID Setup

Introduction
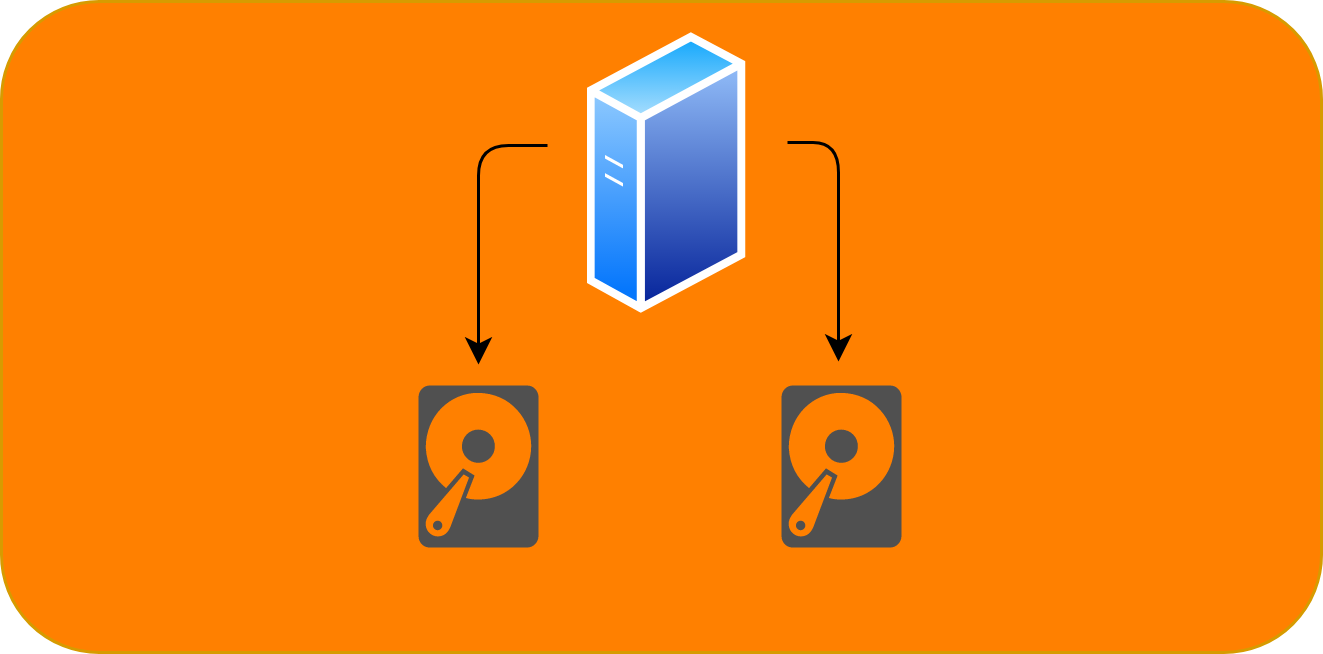
RAID (Redundant Array of Inexpensive Disks or Drives, or Redundant Array of Independent Disks) is a data storage virtualization technology that combines multiple physical disk drive components into one or more logical units for the purposes of data redundancy, performance improvement, or both (From Wikipedia). In Layman's term, it is used to keep your data on multiple disks for more reliability. This way, if one disk is damaged, you still have a copy on the other disk(s). The difference between this method and using a back up is that here, the data is written on both disks in real time, which means you don't need to have nightly back ups. On the other hand, there is no incremental backup that provides you with different versions of your file. There are two ways of doing this: hardware RAID and software RAID. Using a dedicated RAID hardware to link two disks is a lot more secure and faster, however, you need to pay a lot for the device. Software RAID on the other hand, links your disks on the Operating System level which is much less efficient. For a home setup though, a software RAID is more economical and here are the instructions to implement this on Ubuntu.
Installation and Setup
You cannot link two disks with data on them. These disks need to be empty and will be formatted during the process. Understand that the entire disk will be formatted so all the partitions are going to be destroyed.
To use two disks in RAID setup, they need to be exactly from the same maker and model!
Here we assume that your disks are /dev/sdX and /dev/sdY. First, install the required package:
sudo apt -y install mdadm
Then, format both disks using (it is assumed that disks have no partitions; if not delete all the partitions from both disks using GPrated or similar software)
sudo fdisk /dev/sdX
The, enter the following:
- n (for new partition)
- 1 (for partition number)
- Press Enter (Accept the defaults for beginning point)
- Press Enter (Accept the defaults for end point)
- t (to change type)
- fd (for auto detect)
- w (to write the changes to disk)
Repeat the same for dev/sdY
Then, run:
sudo mdadm --create /dev/md0 --chunk=256 --level=10 -p f2 --raid-devices=2 /dev/sdX1 /dev/sdY1 --verbose
The process will take a very long time (at least a few hours)! To check the progress, you can run:
watch -d cat /proc/mdstat
During or after the RAID process, run:
sudo mdadm --detail --scan --verbose > /etc/mdadm/mdadm.conf
sudo mdadm --examine --scan
After the RAID process is finished, you have a new disk (/dev/md0). You can format and partition it using GParted.
Next, you need to automount it using fstab
sudo nano /etc/fstab
and paste at the end
/dev/md0p1 /mnt/raid-disk ntfs-3g rw,auto,users,exec,nls=utf8 0 0
Here, we assumed that the disk will be mounted at /mnt/raid-disk and is formatted as NTFS. You need to change these settings based on your preference. Also, the disk address might be different in your setup. You need to check it in GParted.
